

Different ways to truncate text with CSS


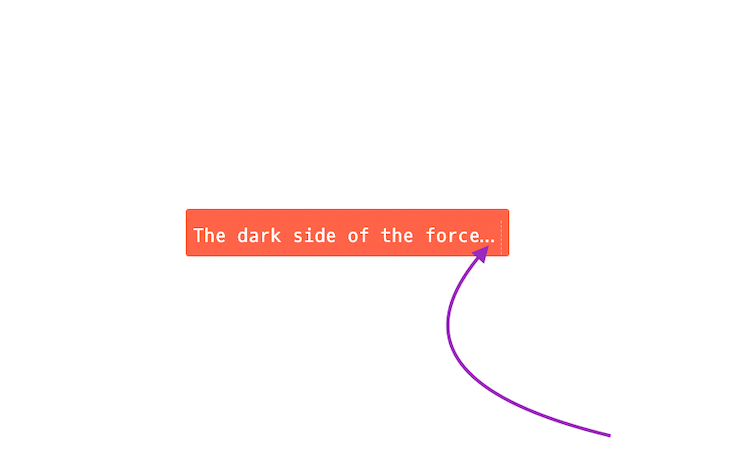
CSS is fantastic; we all know that. It has many unique features that enable us to achieve incredible responsiveness on the web. Have you ever wondered how the ellipses (...) you see on some popular websites (as shown in the image below) are created?
Well, in this article, we will explore how to achieve multi-line truncations in CSS using the language of web JavaScript. Let’s go!
What is truncation?
Truncating text in CSS means adding an ellipsis at the end of a sentence to indicate that there is more text to be read. Unfortunately, there isn’t any truncation property to truncate text on the fly when it comes to using CSS. So, how do you truncate text with CSS?
Fortunately, there is a mix of some CSS properties that do the job. It’s worth noting that these properties only work when used together on an element or the words you have chosen to truncate.
CSS properties
The following properties will help us truncate text in CSS:
White-Space: nowrap;: This property forces the words into a straight line and not wrap to the next line
Overflow: hidden;: This property causes the words to be contained within their parent container
Text-overflow: ellipsis;: This property adds an ellipsis at the end of the words
We can create a single-line truncation when we use these three CSS properties together on any text. This method is considered the traditional way to truncate a sentence with CSS.
How to create a multi-line truncation
Using CSS properties works fine for a single line of text and a multi-line text that spans more than two lines. However, this can also be achieved using JavaScript.
Now, we will look at the two techniques for multi-line truncation using CSS or JavaScript. That way, you can determine which technique works for you.
Multi-line text truncation with CSS
So, let’s look at the CSS technique for a multi-line truncation. The first thing to do is to set the height of the box or the element itself. Next, we count the number of lines we want to ignore before truncating and then multiply the by the line-height to get the max-height.
Here’s how it’s done: Max-height: calc(line-height * the number of the line we want to ignore);.
We will set Overflow to hidden. We will also set max-height to our preferred height, the same as line-height.
Then, we have the -webkit-box-orient which we set to vertical, -webkit-line-clamp, and text-overflow which we set to ellipsis. We will also set the display to box:
.paragraph {
  Overflow:hidden;
  max-height: 6rem;
  line-height: 2.5rem;
  -webkit-box-orient: vertical;
  -webkit-line-clamp: 5;
  text-overflow: ellipsis;
  display: block;
}
Using JavaScript to truncate
Next, let’s look at how we can achieve this using JavaScript. First, let’s create a function called truncate and pass in the words to be truncated as parameters. We will also give a max-length Parameter:
Const truncate (words, maxlength)=>{}
Now, we are going to use the slice method to truncate our text, and we will also return our truncated text from within our truncate function.
Note: We will give the
slicemethod an initial value of zero(0)because we will have to truncate from the beginning of words to the specified area where we wish to stop:
Const truncate (words, maxlength)=>{
return `${words.slice(0, maxlength)} …`
}
Next, for the last and final step, let’s wrap it up by passing the words and the maxlength as arguments:
Const words = "You are learning text truncation with javascript which is done with these three steps"

Const truncate (words, maxlength)=>{
return `${words.slice(0, maxlength)} …`
}


truncate(words, 20)
In this case, the maxLength handles a particular edge case for a situation where the string we want to truncate isn’t long enough to be truncated.
Here, we want to return the original string without truncating it. However, in a situation where this condition is satisfied, we want to truncate and add the ellipsis at the end of the string.
Adding an element after the ellipsis
In some situations, I have found myself wanting to add an element such as an icon after the ellipsis. But, when the line becomes too long, the element is truncated with the ellipsis. The challenge here is getting the element to stay after the ellipsis.
So, how do we add the element after the ellipsis? Let’s say we have the below HTML:
<div class="parent-box box">
    <div class="child-box">
        You are learning text truncation with javascript which is done with these three steps
    </div>
</div>

<div class="parent-box box">
    <div class="child-box no-max-width">
        You are learning text truncation with javascript which is done with these three steps
    </div>
</div>
In other to achieve this, we set the ::after pseudo-element to the parent element .box. Then, we set the nest div with class .child-box and give it a display of inline-block. This allows the pseudo-element of the .parent-box to come after the width of the .child-box.
If the defined max-width is exceeded, then the overflow set to hidden comes into play. This enables us to have the ellipsis and the element of the .parent-box if there is a text-overflow.
Note: The trick here is to not declare the pseudo-element to an element that we declared
overflowandwidthon. This should be done to the parent element, which will, at some point, trim out the content once the max-width is reached:
.parent-box .child-box {
    text-overflow: ellipsis;
    display: inline-block;
    max-width: 70%;
    width: auto;
    white-space: nowrap;
    overflow: hidden;
}

.parent-box .child-box.no-max-width {
max-width: none;
}

.parent-box .child-box::before {
display: none;
}

.parent-box .box::after {
    content: 'X';
    display: inline-block;
}
To learn more about pseudo-elements, check out our guide to CSS pseudo-elements.
Conclusion
In this article, we reviewed how to truncate text in CSS using several CSS and JavaScript techniques. We also looked at how we can add an element after the ellipsis, which is quite tricky to achieve in many cases.
I hope you enjoyed this article, and feel free to suggest other patterns I may have missed. Thank you for taking the time to read this one, even if it was short, and keep coding!